Cutting, drilling, bending, and bonding plastic sheets and rods can quickly turn from a simple job into a frustrating mess. Cracks, chips, and weak joints often spoil what should be a clean finish. If you want professional results without the usual headaches, this guide on DIY plastic fabrication will set you on the right path. From picking the right material to mastering common techniques, here’s how to get your plastic projects done right the first time. For further insights into working with plastics, check out this guide.
Choosing the Right Plastic
Selecting the right type of plastic is the first step towards achieving the desired outcome in your project. Different plastics offer different strengths and are suited to various applications.
Acrylic vs Polycarbonate
When it comes to clarity and ease of use, acrylic and polycarbonate are top contenders. Acrylic is popular for its crystal-clear finish and ease of cutting, while polycarbonate is known for its impact resistance. Imagine creating a window panel: acrylic provides stunning clarity, but if durability is key, polycarbonate might be your best bet. Acrylic sheets are generally lighter and less expensive, making them ideal for projects where weight is a concern. Polycarbonate, though pricier, is almost unbreakable and perfect for areas needing extra toughness.
In real-world applications, most people assume acrylic is delicate, but it can actually withstand a fair amount of impact. However, if you need something bulletproof, polycarbonate is your go-to. This makes it ideal for safety shields or protective barriers. Remember, choosing the right material can save you from costly mistakes down the road.
Understanding HDPE, PETG, and PVC
Diving into the world of HDPE, PETG, and PVC reveals options for more specific needs. HDPE is highly resistant to impact and moisture, making it suitable for outdoor projects. In contrast, PETG is favoured for its ease of thermoforming and is used often in packaging. For piping and construction, PVC shines with its durability and chemical resistance. Picture needing a waterproof barrier: HDPE would not let you down. It’s often used in environments where moisture exposure is unavoidable.
PETG stands out because it’s easy to shape. This makes it perfect for projects involving complex curves or detailed designs. On the other hand, PVC’s strength and affordability make it a staple in construction. If you’re still unsure, checking out this guide on HDPE can offer some useful tips.
Cutting and Drilling Techniques

Once you’ve chosen the right plastic, knowing how to cut and drill it properly is crucial. This will ensure your project remains intact and professional-looking.
How to Cut Acrylic at Home
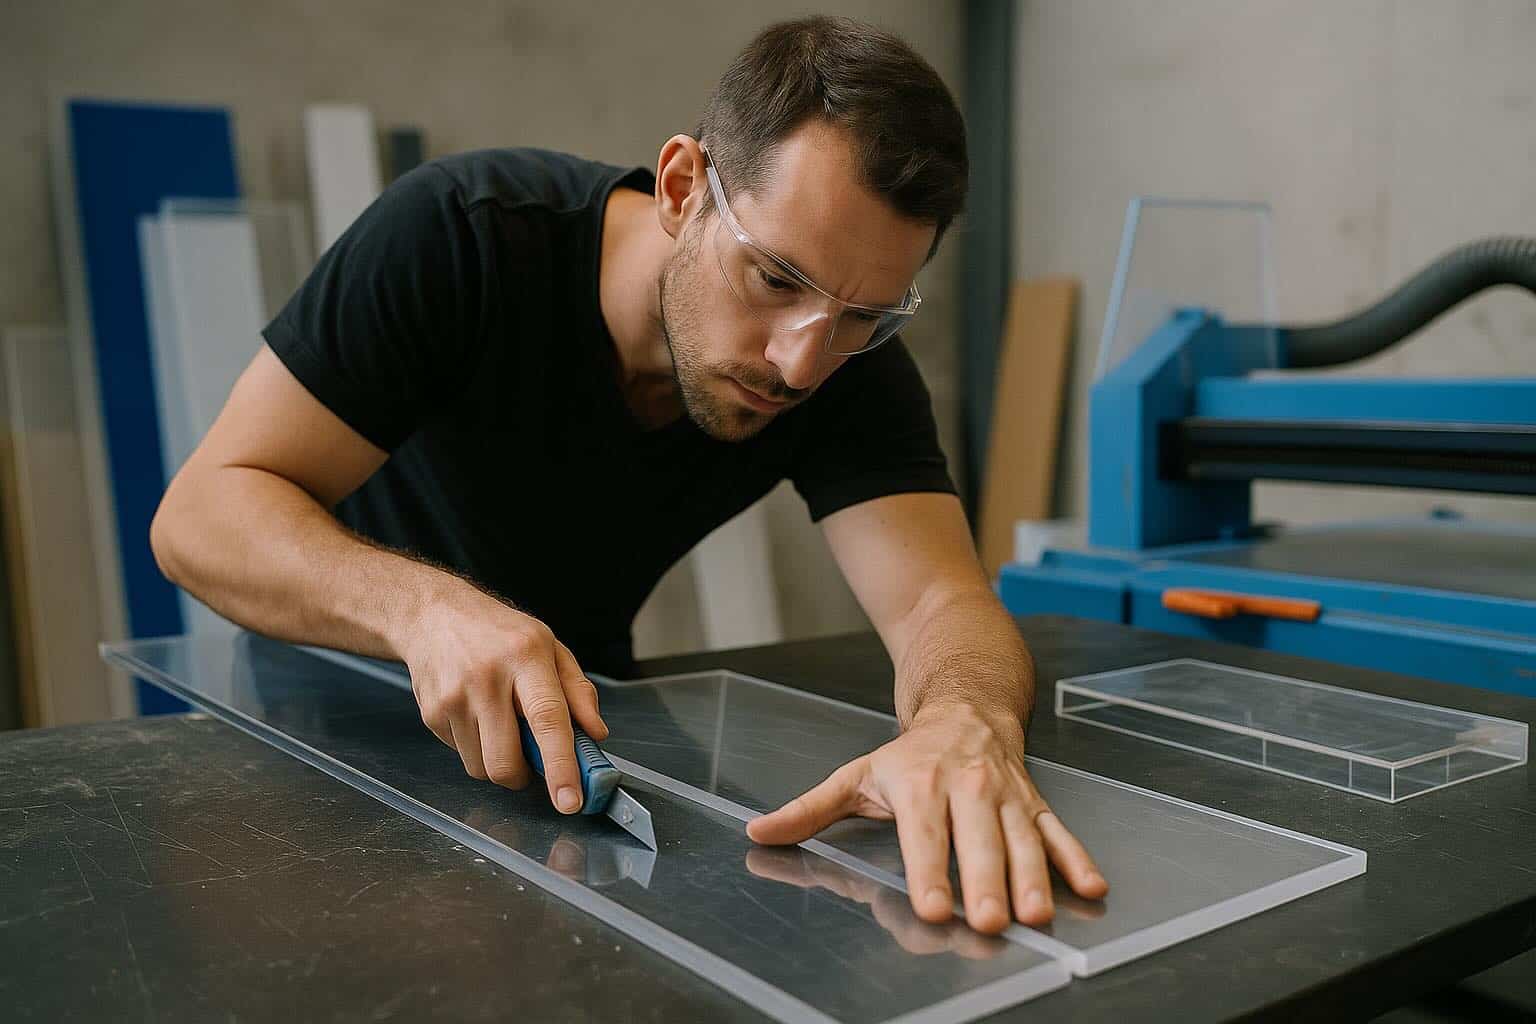
Cutting acrylic at home doesn’t have to be a daunting task. With the right tools and approach, you can achieve clean, precise cuts. Start with a sharp blade or a fine-tooth saw. Scoring and snapping is a technique where you score the sheet multiple times along your cutting line, then apply pressure to snap it cleanly. For thicker sheets, an electric saw with a fine blade is ideal.
Most people think cutting acrylic requires specialised tools, but often, a utility knife is enough for thinner sheets. Ensure to use a guide to keep your cuts straight. Remember, patience is key. Rushing can lead to cracks or uneven edges. For a comprehensive technique, you can explore resources like this Reddit discussion on fabricating acrylic.
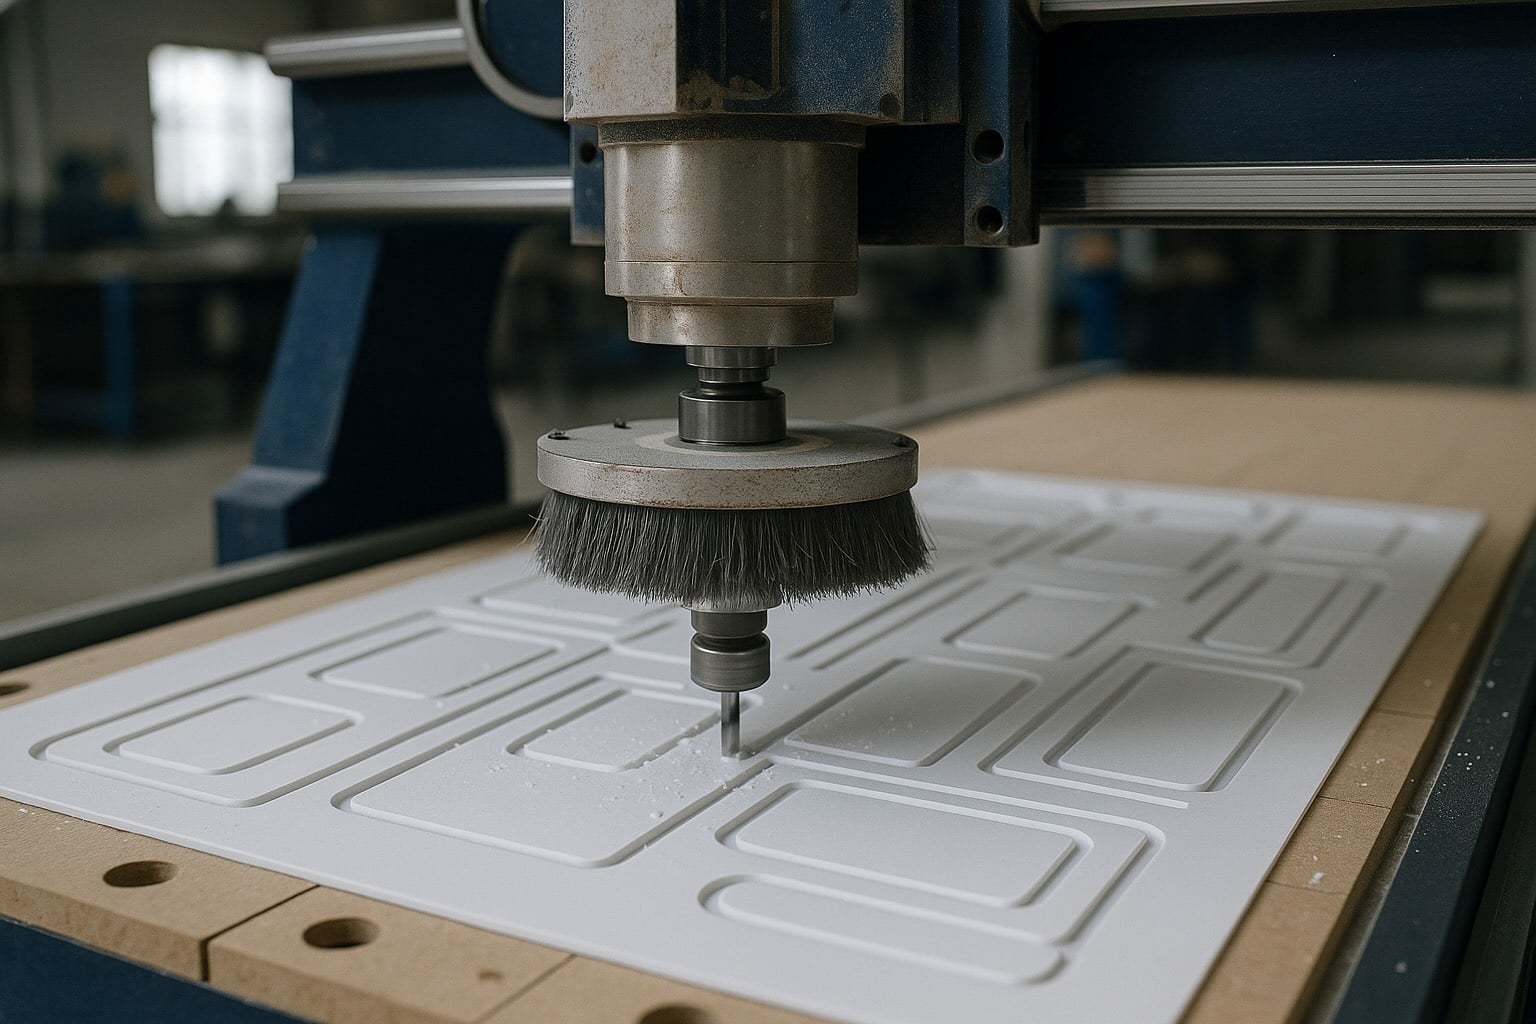
Drilling Acrylic Without Cracking
Drilling into acrylic without causing cracks demands a gentle touch and the right setup. Use a drill bit designed for plastics, as these have a sharper point and a flatter cutting angle. Start by marking your spot with a small indent to guide the bit. Apply steady pressure and keep the speed low. This allows for controlled, crack-free drilling.
It’s common to assume more pressure will speed up the process, but it often leads to disaster. Instead, let the drill do the work. Keep a spray bottle handy to mist the surface, reducing heat and friction. With practice, your technique will improve, and your projects will look more professional.
Bending and Bonding Methods

With cutting and drilling mastered, bending and bonding are the next hurdles. These techniques allow for more creativity and structural integrity in your projects.
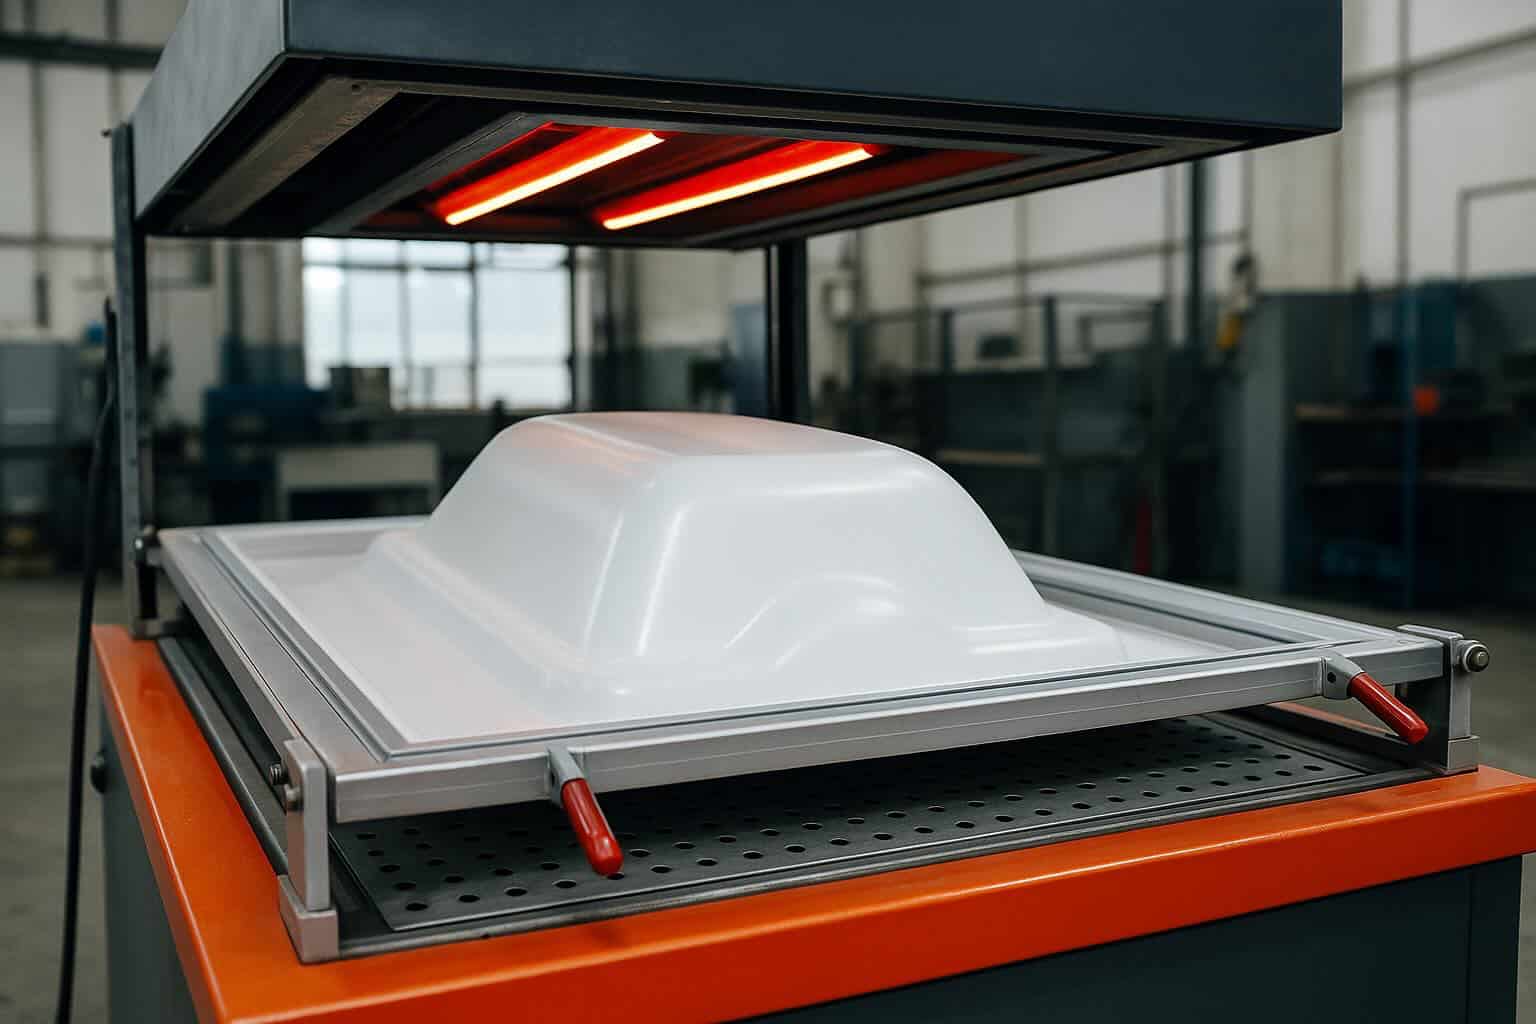
Heat Bending Acrylic
Heat bending is a useful technique for creating curves and angles in acrylic. Using a heat gun or an oven set to low temperatures, evenly heat the area you wish to bend. Once soft, gently form the acrylic to the desired shape. It’s like bending metal, but with a bit more patience and control.
Most assume acrylic will melt or warp uncontrollably, but with careful, even heating, you can achieve smooth bends. Keep in mind the thickness; thinner sheets require less heat. Allow the piece to cool slowly to avoid stress marks. For more advice on plastic welding, this blog post covers the essentials.
Gluing Acrylic with Solvent Cement
Gluing acrylic demands a specialised approach. Solvent cement is your best friend here, as it chemically welds the pieces together. Apply it sparingly along the edges, then press the parts firmly together. They bond as the solvent evaporates, leaving a strong joint.
People often think more glue means a stronger bond, but with solvent cement, less is more. Ensure surfaces are clean and dry before beginning. The bond forms quickly, so precision is key. This method provides clear, virtually invisible joints, enhancing the look of your finished project.
In conclusion, mastering these techniques will elevate your DIY plastic projects from amateur to professional. With the right materials and methods, you’re well on your way to creating stunning, durable pieces. Remember, practice makes perfect, so don’t hesitate to experiment and learn as you go.
See why our precise cutting and local manufacturing stand apart